Most of my Aurora Photography is done on Cruises to Norway, I have done some in the UK but the Aurora tends to be a lot more impressive inside the Arctic Circle.
Equipment:
- Clothing: If you are out photographing the Aurora it is almost certainly going to be cold (it can be as low as – 25 degrees Centigrade), so you need to think about how much you feel the cold.
To protect yourself from the cold you need to wear layers and the layers need to be Wool or Synthetics NOT Cotton. Cotton absorbs moisture and gets colder, Wool and Synthetics draw the moisture away from you.
The best series of layers are:
a. a base layer usually synthetic,
b. followed by a merino wool layer,
c. followed by a fleece layer,
d. finishing off with a windproof / waterproof layer
Only you will know what you need as everybody’s body temperature is different. - Hands, Feet & Head: Again layers are good, thermal liners followed by wool and/or fleece. Again top layer think windproof.
- Photography Accessories:
a. Tripod is essential to keep your camera still whilst taking long exposure shots.
b. Headlamp preferably with a red light to help preserve night vision. A headlamp to keep both hands free and red to preserve your and others night vision (it takes 5 to 8 minutes for your eyes to start adjusting to darkness, but they don’t reach maximum adjustment until you’ve been in the dark for about 40 minutes).
c. Remote Shutter Release, these come in many formats from App’s and Bluetooth to Basic Cabled gadgets. The Basic Cabled variety is the most reliable (no battery required, batteries loose their power quickly in the cold).
d. Extra Batteries, for both your camera and headlamp.
e. Extra Memory Cards, you do not want to run out of memory space if the Aurora is really spectacular. - Camera: This can be anything from a Mobile Phone (with the right App). Sorry you are on your own with Mobiles and App’s as they vary so much and one App might be good for one phone and not another. Added to this many of the newer Mobiles have technology built into them to take photos of the night sky now. Check out App’s that are Night sky or Aurora or Northern Lights and check they are compatible with your model of phone (worth testing it beforehand).
To a DSLR or Mirrorless Camera and the settings for these is basically all the same. However if you have the choice of selecting a Camera for Night Photography then here is the advice. The best type of Camera is what is termed Full Frame and a sensor with 12-30 megapixels. The most recently released camera the better (camera sensor technology is advancing very fast). My current choice is the Canon R6 Full Frame 20Mp & Canon R6 mkIII 32Mp Mirrorless Cameras (my previous camera was a Canon 6Dmkii Full Frame 24MP DSLR).
Having said this you can get some good images with a crop sensor APS-C camera and the right settings. You need to expose for longer at lower ISO values. - The Lens: This needs to be as wide angle as possible as the Aurora can occur over a vast area of sky 10mm to 24mm and as wide an aperture as possible f1.4-f4.0.
The Aurora
The first thing to know is that you are not going to see with the Naked Eye as much as the Camera will see.
This is because of how our eyes work,
most people will see this when looking at the Aurora….
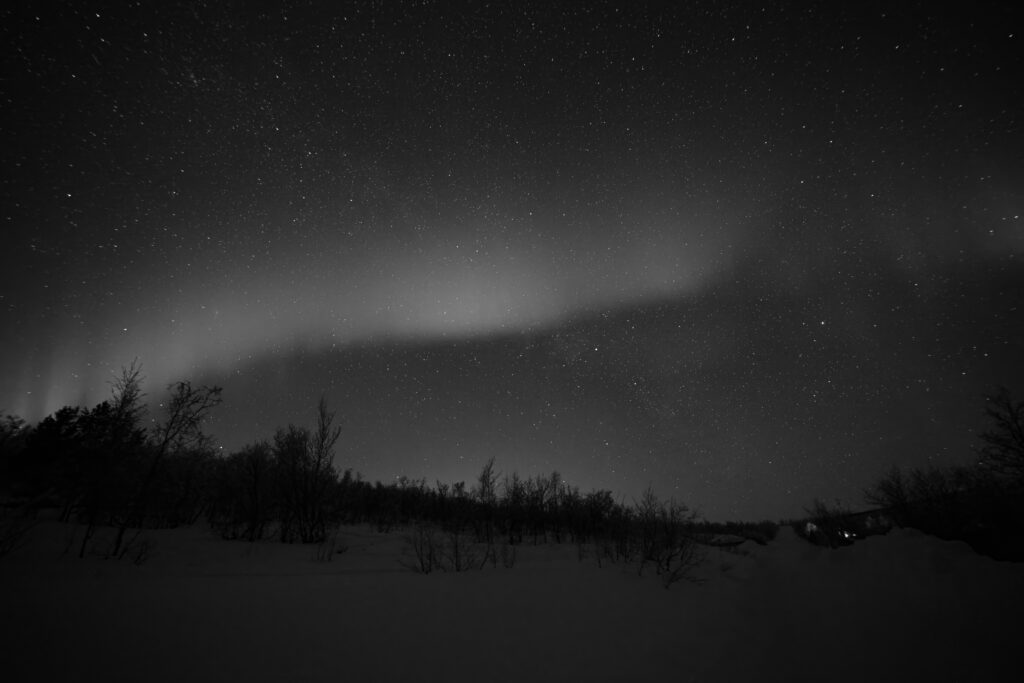
it can easily be mistaken for cloud, but if you look closely you can see stars through it (click image to enlarge).
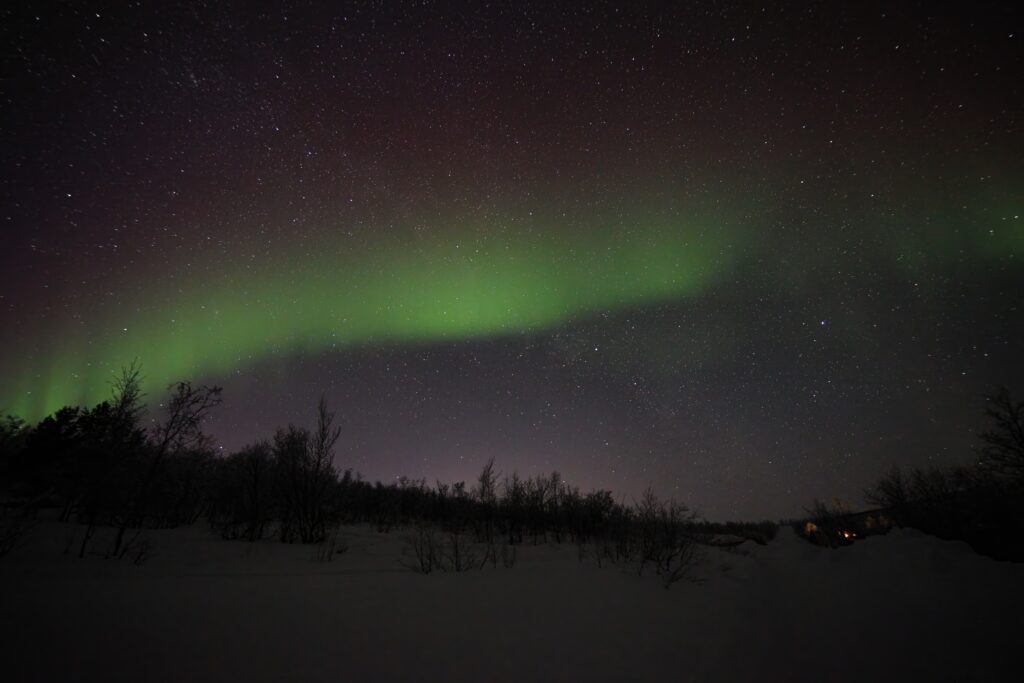
and with the Camera we can see this….
The Photography
Photographing the Aurora isn’t an exact science, there are a lot of variables to consider.
All cameras and lenses will give different results, so a bit of trial and error is needed to find out what works best for you and your equipment set up.
It’s also important to remember that no two auroras are the same. This means that settings which work one night may not work the next.
It all depends what you want to do with the images, if you want to post on social media then a phone is fine, but if you want a photo to go on your wall or a large screen you will need a DSLR or Mirrorless Camera to get all the detail.
Many people say it is not the Camera it is the Photographer, yes this is true about most photography.
When it comes to the Aurora though, you need the right technology for the job and it does make a difference.
The most recently released Mirrorless Cameras have the latest Sensors and these have improved in their ability to handle Electronic Noise (this appears as grainy patterns) at very high ISO’s.
In the Equipment above I said that the best Camera to have was Full Frame. Here the outer red frame shows an image taken at 16mm full frame, the orange frame shows what you would get a 24mm or with a 16mm on a crop sensor camera.
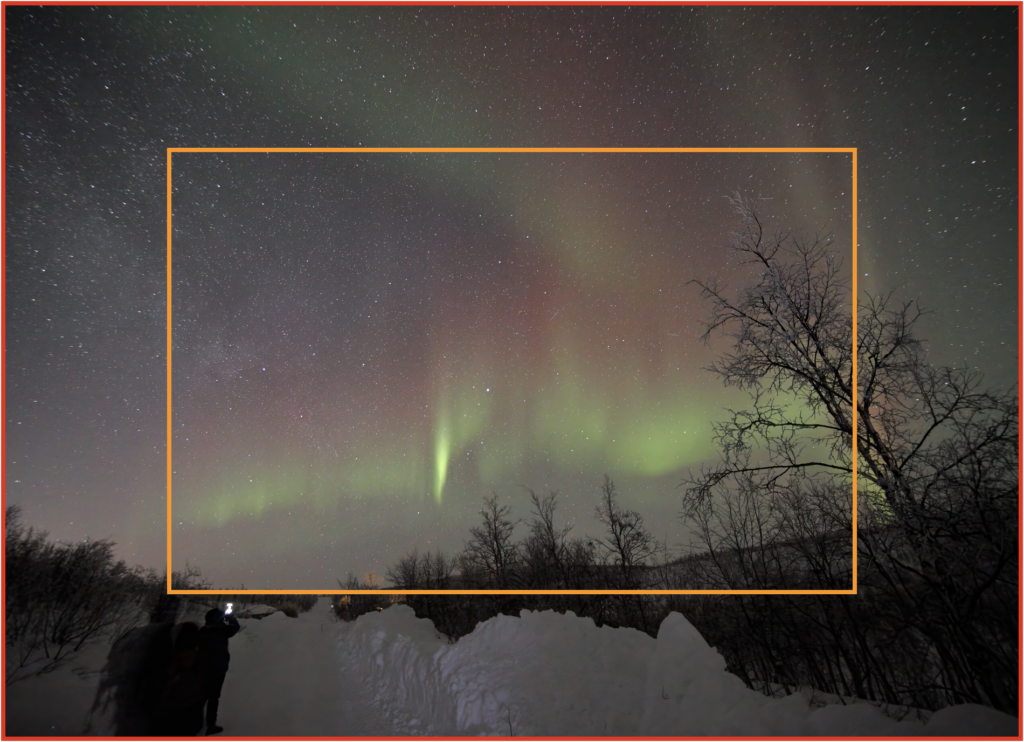
The two images for comparison
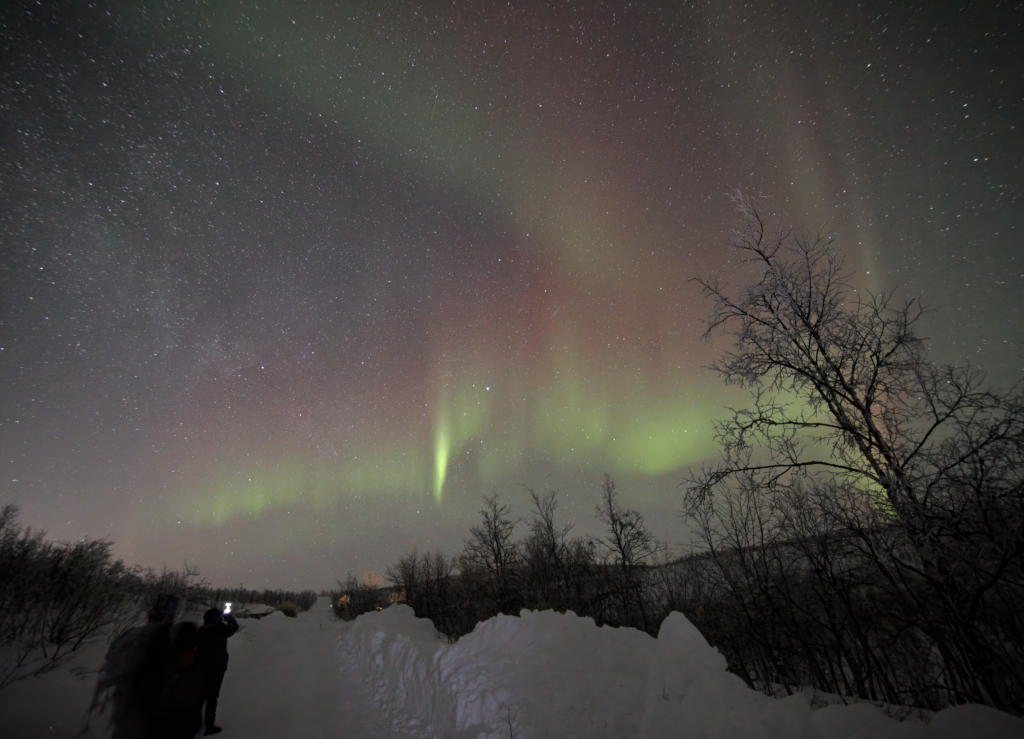
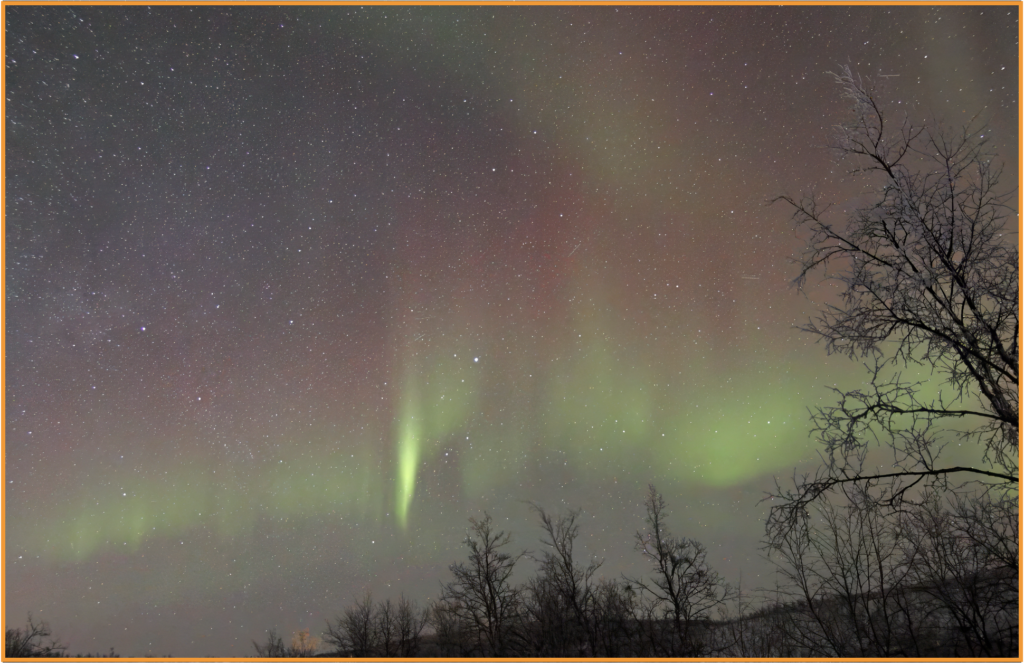
So for comparison:
| Lens Marking | Full Frame Sensor | APS-C Crop Sensor |
| 10mm | 10mm | 15 / 16mm |
| 14mm | 14mm | 21 / 22.5mm |
| 16mm | 16mm | 24 / 25.5mm |
| 20mm | 20mm | 30 / 32mm |
| 24mm | 24mm | 36 / 38.5mm |
| 28mm | 28mm | 42 / 45mm |
| 35mm | 35mm | 52.5 / 56mm |
This is the best video guide on the Aurora I have found.
This is by Mads Peter Iversen a Danish photographer.
Setting up the Camera
Shoot in RAW
If you want to edit your images it is best to be shooting in RAW rather than Jpeg. You can make a lot more adjustments in software with RAW files. Taking photos in the dark and getting the settings spot on very rarely happens.
I use Topaz PhotoAI to process my images.
Turn Off Flash
You will get shouted at by everyone else trying to take photographs and destroy everybody’s night vision.
Filters
Remove all filters they can cause some weird effects like this.
White Balance
When shooting in RAW this not all that important as you can change it in post processing. Different brands of Camera seem to handle white balance / colour differently.
I find my Canon Cameras have always been good at 4500K and understand other brands of Camera are better at 3800K.
Metering Mode
In northern lights photography, Evaluative or Matrix metering is best as the camera will determine the lighting in all areas of the frame (both the super dark areas and the bright highlights) and then decide on the best exposure level.
Long Exposure Noise Reduction
What this does is take a second photo with the shutter closed, this records the noise generated by the sensor and then subtracts it from your image. This effectively doubles your exposure time from 15 to 30 seconds or 30 to 60 seconds.
If you are shooting RAW turn it OFF you can do all your noise reduction in post processing.
For JPEG keep it on, as post processing Noise reduction is not as effective, if at all.
High ISO Noise Reduction
Turn Off for RAW and On for JPEG in theory it does not affect RAW, but it can.
Shutter Mode
If your Camera has it use Electronic Front or First Curtain Shutter (EFCS), this helps reduce any vibration in the camera. Or try electronic shutter.
Image Stabilisation IS & IBIS
Turn all stabilisation Off if you have the camera mounted on a tripod so it is not needed and can actually causes a small amount of movement as the photo is taken. Leave it on if you have to hand hold the Camera.
Focus
You will want to switch to manual focus and find infinity focus (∞) – Most lenses will have a line or symbol on the lens which indicates infinity focus.
However these are sometimes inaccurate and when temperatures are cold, this can shift slightly. Therefore, turn your camera to live view (backscreen view), find a star or light in the distance, and turn the focus ring until the objects are in focus.
Switch to Manual mode
You need to be in Manual Mode so that you have control over all of the settings.
Settings I will start with
Aperture
As this is the most straight forward at f1.4 or as open as possible for your lens.
Shutter / ISO balance
Your shutter speed will be largely influenced by how fast the Aurora is moving:
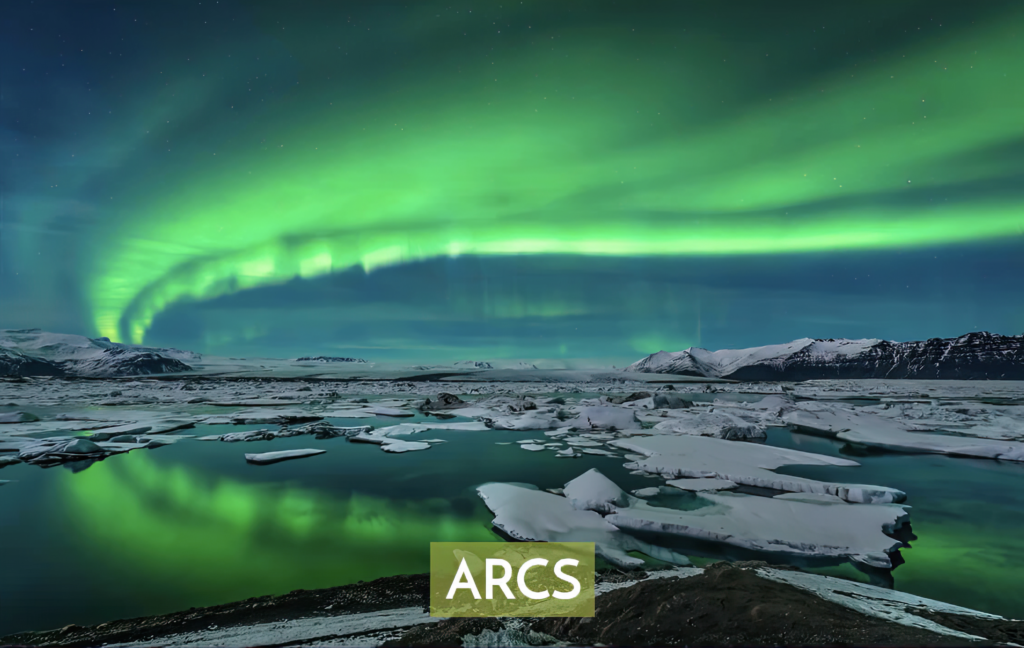
15-30 seconds for slow moving Aurora like arcs.
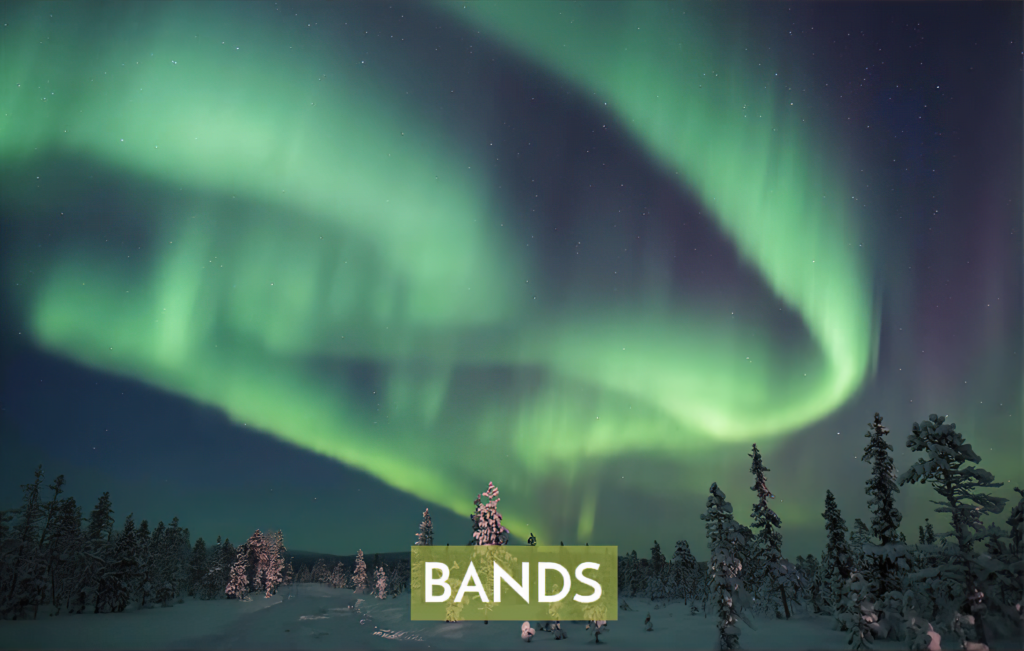
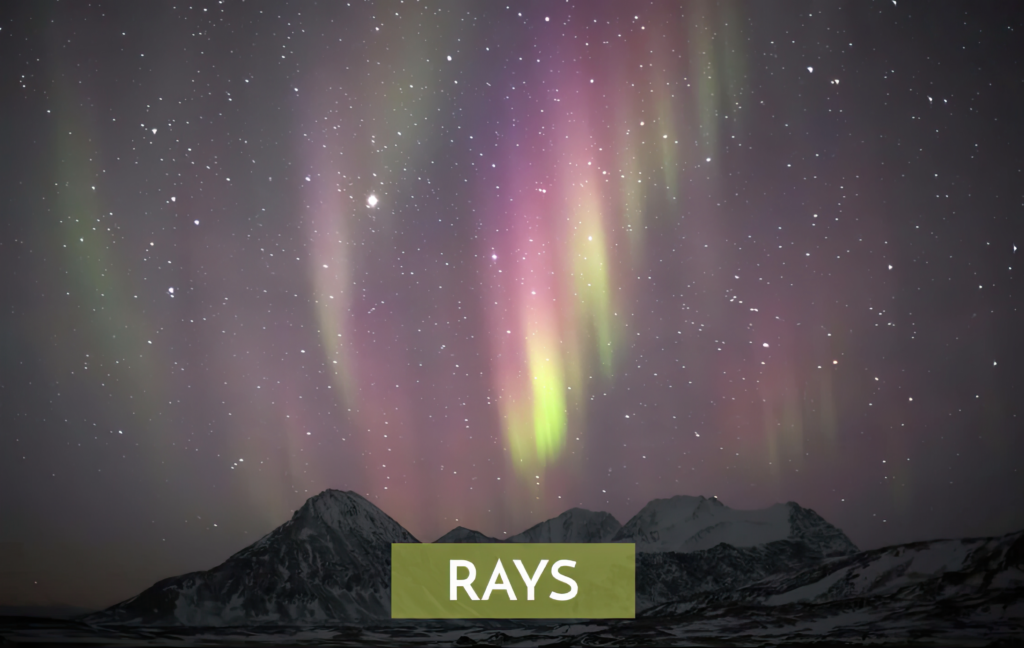
5 -15 seconds for bright dancing bands and rays
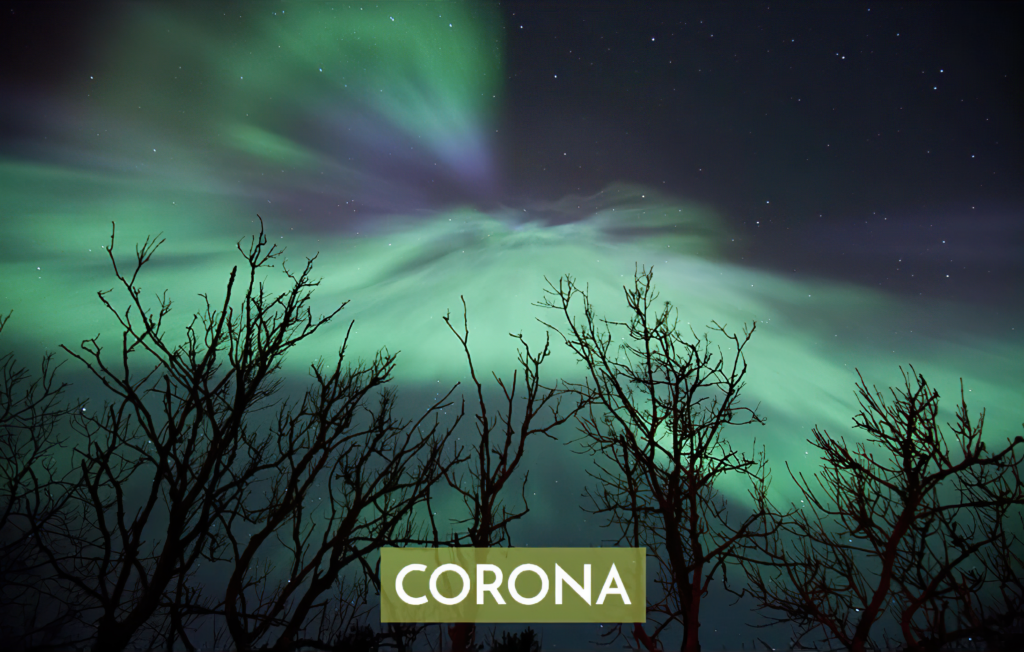
1-5 seconds for bright overhead corona
ISO
800-6400 is the final control of the overall exposure.
Modern Mirrorless Cameras
If your camera is capable you can increase your ISO and decrease your shutter speed. Most of my Images on my last trip March 2023 were taken at ISO 8000 and 2 seconds. Although I have since learned I could push the ISO even higher and reduce my shutter speed…. more experiments to do…
March 2024
November 2024
Experimented with ISO’s of up to 104500 but with a Shutter speed of 1/8th of a second on a moving ship and getting pin sharp images
March 2025
The new experiments shooting handheld with Canon R6 with RF 10-20mm f4 lens, ISO 51200 for 1/4 second. Gallery
March 2026
New Camera R6 MkIII
and
New RF lenses to work with
RF 16-20mm f2.8
RF20mm f1.4
watch out for more results.
Timelapse using ISO8000 and 2 second exposures March 2023.